
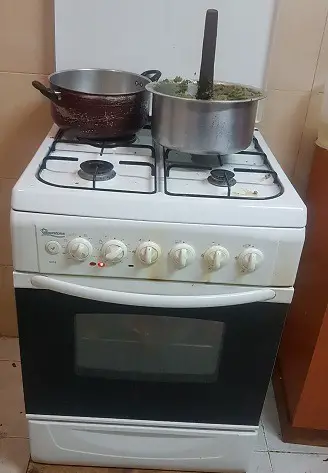
After some years of use, your oven is indisputably prone to damage. As a homeowner, you can prolong your oven’s lifespan, but the appliance cannot be immune to wear and tear forever.
Numerous reasons could lead to oven damage. Think about the various causes of the wear and tear and the different ways in which you can add life to your oven.
Some of the factors that could result to your oven being damaged is poor cleaning and maintenance over time. To avoid this problem, learn various techniques on how to clean and maintain your oven.
The techniques will vary depending on the type of oven that you have in your kitchen, though there are some common tips that will apply to all ovens.
In this article, we discuss the weak areas of an ageing oven and some of the ways of restoring an old oven.
Fixing a slanting oven door
At times you may experience issues with your oven door due to constant opening and shutting. So, if you want to restore a leaning door, follow the steps below:
- The first thing to do would be to disconnect the door from the oven. Doing this requires you to open the oven door and remove the screws holding the door from the inner oven.
Since the door will be loose at this point, slant it in its upright position and start securing it back with the screws.
If the screw holes are stripped out, use various techniques to make it firm such as using a wider and longer screw, glue anchors or plugs.
- As you secure the door back to the oven, avoid exerting too much pressure while tightening the screws. Otherwise, your oven surfaces could get damaged. In most cases, they are likely to chip.
- After fixing the door, check to see whether it is firmly attached. You can do this by placing a small piece of paper on the oven door sides. Then, close the door.
If your paper is not held firmly by the oven, you might need to tighten the screws more. On the flip side, if the oven door firmly grips your paper, you are good to go.
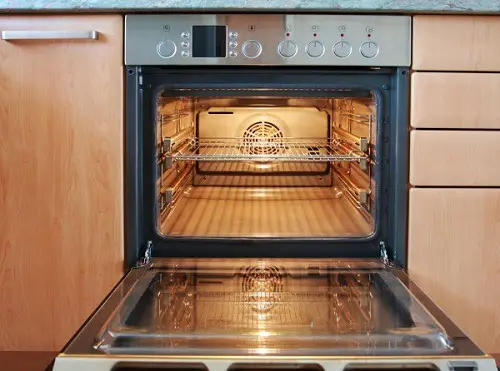
Check and replace your electric oven gaskets
Suppose you have an old oven that you feel allows the heat in the oven to escape, consider replacing the gaskets to prevent the heat escape.
An oven gasket is a rubber lining attached to the oven doors. Over time, gaskets wear and tear.
This reduces your oven’s efficiency since the gaskets are responsible for preventing heat escape from the oven thus allowing your food to cook in the recommended speed.
Follow the below steps if you plan to replace your oven gaskets.
- When you want to replace your oven gaskets, the first thing to do would be to switch off your oven’s main power source. Then, unplug the oven from its placement. This way, it will be much easier and safer for you to fix the gaskets.
- The next step would be to get rid of the existing gaskets. Often, gaskets get attached to the oven surface using clips or screws. So, gently unscrew the gasket from the oven.
- Find your oven liner bolts. They are probably at the back of the oven. Once you find them, loosen and remove them. Disconnect the gaskets from the oven liners.
- Get your new gasket and start positioning it. Then, put in place the oven liner. Always consult your oven manufacturer on the best type of gasket to purchase.
Evaluate and restore your electric oven temperature control
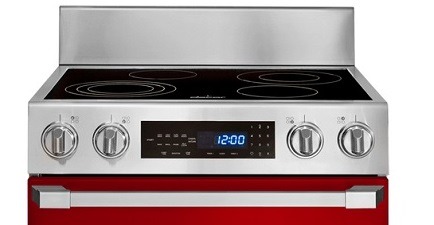
The oven temperature control gets worn out after some time. And this interferes with your baking and cooking time.
So, consider replacing your oven temperature control if your oven is too old by following the steps below:
- When replacing your oven temperature control, make sure to switch off the main power source. Doing this enables you to maintain safety throughout the whole process.
- Check your oven control panel. Check for any discolorations on the control panel. If you notice any discolorations, you might have to replace the oven temperature control.
Fixing a faulty heating element
One of the common problems faced by homeowners with old ovens is a faulty igniter. At times, you will notice that the oven won’t heat.
This could indicate a problem with your gas line or burners. It is always best to call an expert electrician to fix the issue for you to be safe.
If you are one of those DIY enthusiasts, it would help if you first tried replacing your oven igniter. If you plan to do so, follow the following steps.
- The first step would be to turn off the main power source of your oven for safety.
- Locate your igniter and disconnect it from the oven using a screwdriver. Do this gently to avoid any damage to the oven.
- Get your new heating element and start fixing it in the oven. Be careful during this process. If you are not sure how to fix the igniter, you’d rather seek professional assistance.
Replace your electric oven lighting
Your oven lighting will unquestionably malfunction after some time. Oven lighting is crucial as it helps you to see your food while cooking or baking to avoid over or under cooking and also ensures your safety.
So, consider replacing the lights in your old oven to make sure they don’t go off while you are in the middle of baking or cooking.
Follow the simple steps below to replace your oven lighting:
- Switch off your oven in the main electrical panel.
- Then, locate your oven bulbs and remove their cover through the proper rotation.
- After getting rid of the bulb cover, remove the old/worn out oven bulb. Ensure that you are wearing safety gloves during this process.
- Then get the new bulb and fix it in the oven. Before purchasing oven bulbs, ensure you consult your manufacturer on the best available oven lighting.
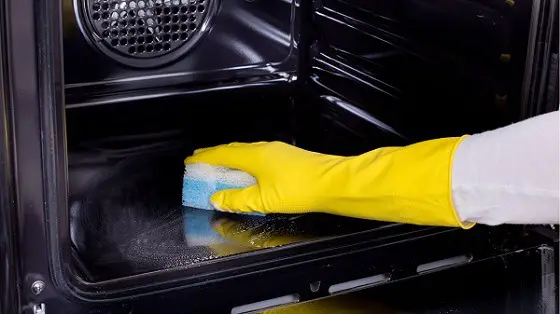
The oven won’t self-clean – what should I do?
The efficacy of the self-cleaning feature in ovens is definitely controversial, but it is still important to ensure that the self-cleaning feature works well, for whatever it is worth.
If your oven has a self-cleaning feature that isn’t working, follow the steps below.
- Turn on the oven and start the self-cleaning features as per your manufacturer’s manual. Occasionally, operating the self-cleaning feature wrongly could make you think that it’s not working.
- Ensure you appropriately synchronize the timers and the knobs.
- Note that you should be realistic. The self-cleaning feature might not be able to get rid of all food particles or spills on the oven surfaces. You might have to wipe them yourself. So, don’t think that your self-cleaning feature is not working just because it has not gotten rid of the spills in the oven.
- Once you have done everything correctly and your oven is still not working, ask for professional assistance. Maybe there is an internal problem with your self-cleaning feature.
Conclusion
Ovens are vulnerable to wear and tear after several years of use. Depending on the model you have, you might have to repair your oven sooner than you think.
But to promote the longevity of your oven, consider replacing a few things over time. So, if you have an old oven, it would help replace your gaskets and bulb lights, among other features.
Additionally, constantly check if your oven doors are loose and if the oven is functioning accurately. Whenever you notice any issue, make a point of fixing the issue immediately.
Fortunately, there are so many DIY techniques that can help you fix your oven.