
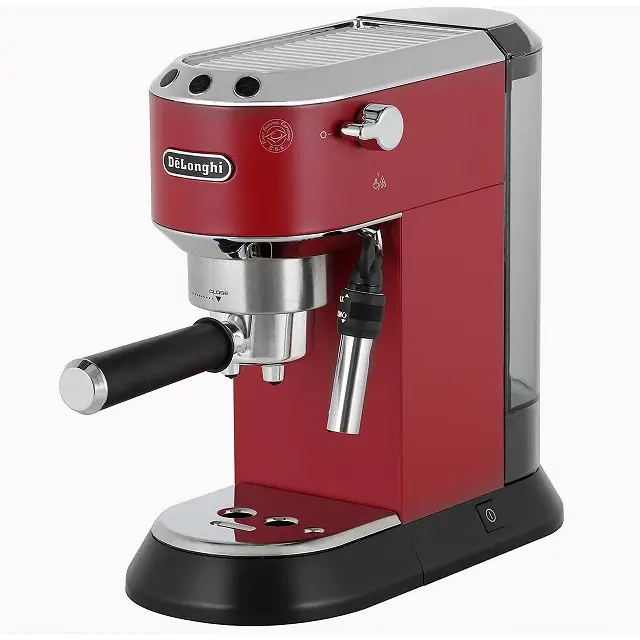
How to Clean a Coffee Maker Step by Step
One of the best ways of making sure your coffee maker lasts longer and continues to produce great tasting coffee is by keeping it clean.
Minerals in the coffee maker water, particularly if you have hard water in your house, will degrade the parts of this brewer over time. Leftover coffee oils, in the meantime, can tarnish the taste of your coffee.
Here is how you can clean your coffee machine step by step. If you follow these steps in cleaning your coffee maker, you will have a sparkling carafe and finest-tasting coffee.
What you require to clean your coffee maker:
- Sponge brush
- Dry dish towel
- Hot soapy water
- Vinegar
- Damp dish towel
- Water
- Soft cloth
Step one: Cleaning the brew basket
If you are like most people, you most likely rinse the brew basket of your coffee maker at the sink after you’ve emptied it.
Occasionally, it is important to use warm, soapy water to thoroughly wash the brew basket. This will deal with the oily residue, which can leave behind a bitter flavor in your coffee.
Step two: Get rid of mineral deposits
Minerals in the water in your home will clog the tubes and tank of your coffee maker. If the mineral accumulation gets worse, your brewer can either compromise the brewing performance or stop functioning entirely.
Two popular signs of trouble are an increase in the brew cycle and too much steaming. For some coffee makers, you will experience water leakage due to the clogging.
One of the most effective ways of dealing with the mineral deposits is through use of a descaling solution. There are many effective descaling solutions in the market for various kinds of coffee makers.
You can also descale your coffee maker using natural solutions like vinegar, lemon juice or baking soda to get rid of the mineral deposits.
Step three: Cleaning the carafe
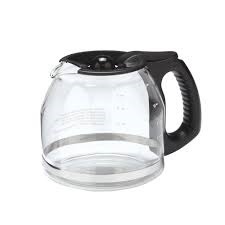
A glass carafe with coffee stains looks unappealing, plus it will also pass on an unpleasant smell.
You should fill the carafe with 2 parts hot water and 1-part baking soda and allow it to sit overnight.
After that, use fresh water to rinse thoroughly. You can also get rid of the burned-on stains from the hot plate with a wet sponge dipped in baking soda. Just ensure that the plate is cool before touching it.
To get rid of the remaining particles or minerals entirely, fill the coffee maker with water and let it run the brewing process again.
After that, wait for fifteen minutes for it to cool down and drain the pot. You can repeat the process two or three times.
Once the process is done, you’re assured to have a clean and fresh coffee maker.
Tips to help you keep the coffee machine cleaner longer
- Do not leave used, damp coffee grounds in the brewer for long, or you might have a buildup of bacteria, yeast or mold.
- If you’re filling the water reservoir using the carafe, do so only if you use hot, soapy water to clean the carafe after every use.
- K-cups, such as Keurig coffee makers, require a thorough cleanup to get rid of stuck coffee residue.
- Brew your coffee with de-mineralized water to avoid calcium build up.
How to clean a coffee maker with vinegar
You can use this method for getting rid of calcium buildup and for descaling the coffee machine.
Before you start, look at the cleaning instructions manual that came with your coffee maker to check what is says about use of vinegar for cleaning your coffee maker.
This is to make sure that the manufacturer recommends cleaning it up with vinegar. Some models don’t recommend it, often due to the risk of vinegar reacting with the metal parts of their coffee maker.
Follow the following simple steps when cleaning your coffee maker with vinegar:
-
Removing and cleaning the parts
Empty the brewer, remove and use hot soapy water to clean up the permanent filter, brew basket and carafe. Replace the empty carafe and filter basket.
-
Mix water and vinegar
You should mix equal parts of water and vinegar, enough to fill the reservoir. A simple way of doing this is filling the chamber to half using vinegar and then using water to fill to the top.
However, if you cannot see the level of the water your coffee maker, mix it in a separate dish where you can measure then add the solution to your carafe.
-
Filling the water reservoir and replacing the carafe
Take a solution of water and vinegar and fill the reservoir. If you’re using paper filters, put a paper filter in the brew basket.
-
Run half of a drip cycle
Make sure you run the brewer through half of a drip cycle. Stop it so that the solution of vinegar and water sits in the water channel and the reservoir. Let it sit for half an hour in both the carafe and the reservoir.
-
Start the brew cycle again
After roughly one minute, start the brew cycle again and finish brewing the mixture of vinegar and water via the coffee machine. Dispose of the solution of vinegar and water from the carafe.
-
Use water to run the cycle twice
Use plain water to fill the chamber and run it via the system for a full cycle. Dispose of the brewing water. Let the machine cool down. Then use water to repeat a full brew cycle.
The repeated rinsing cycles are for purposes of getting rid of the vinegar taste which can alter the taste of your coffee.
-
Cleanup the brew basket and carafe
Use hot, soapy water for cleaning up the carafe, permanent filter and detachable filter basket. Changing the water filter is also good if the coffee maker has one. Thoroughly wipe the brewer’s exterior.
Your machine is now ready to continue brewing, and you might experience a much better taste of the coffee.
Reasons you need to clean up your coffee maker
1. Prolong your coffee maker’s life
The buildup of calcium, oil or any other substances will affect the running of any components, which come into contact with the water.
Ultimately, the buildup may compromise the system. Frequent cleanup can get rid of buildup and help the machine run well for longer.
Molded coffee and brown stains are both unpleasant and completely avoidable. Clean the coffee pot when done.
If you’re having stubborn stains, you can mix equal parts water and baking soda and use it for scrubbing off the stains.
2. Destroying germs hiding in warm, moist environments
Germs thrive in moist, warm surroundings. You can help in preventing germs from thriving in your coffee maker by getting rid of wet coffee grounds after every brew.
In addition, you should allow the inside to dry out by leaving the lid open.
3. Enjoying shorter brewing times
Hard water will limit the functionality of the heater pipes because of the calcium deposits. This buildup will insulate them, increasing in brewing times.
Thoroughly clean up the coffee machine at least once every month to get rid of the buildup. This should result in more efficient brewing, meaning you get your ready coffee in less time.
4. Get the finest coffee taste

Coffee oil can leave a residue on both the coffee pot and cup. Remember to use hot, soapy water or the dishwasher for cleaning the pot to get rid of buildup.
Residue can interfere with the taste of your coffee. By getting rid of such residue, you get the pure unadulterated taste of coffee.
5. Getting rid of buildup in the brewer
You’ll find that calcium and other mineral deposits might build up in the appliance, restricting the flow of water and causing lower brew temperatures.
These low temperatures will dilute the flavors of your coffee, causing an increase in the brewing time.
In coffee makers where buildup causes leakage of water, the flavor of your coffee will be affected since the water to coffee ratio ends up being altered.